Here's a tutorial to show how to produce a batch
of stylised images from the one photograph in Adobe
Photoshop.
Firstly, copy and paste or duplicate the image
and flood fill the lower layer with white so your
image is the top layer over a lower layer of solid
white.
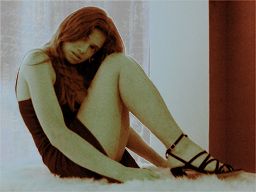
If there are people in your photograph and the
photo was taken indoors, you often end up with slightly
yellowy-looking skin tones due to the artificial
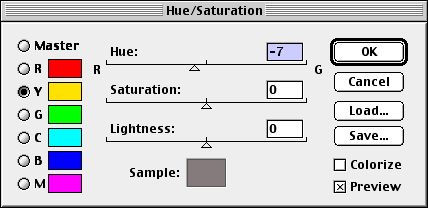
lighting. If this is the case, open up the Hue/Saturation
dialogue (Image> Adjust> Hue Saturation or
press Command U) and slide the Yellow channel a
couple of notches towards the Red end of the scale:
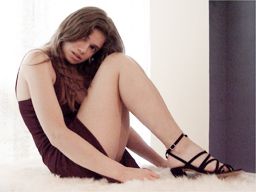
Next, once you have altered the levels
(Image> Adjust> Levels of Command L) and are
happy with the image, duplicate this layer twice.
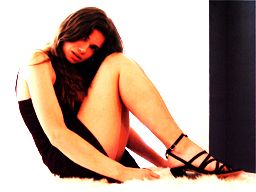
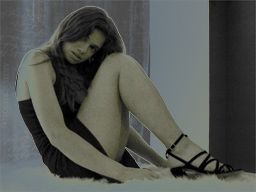
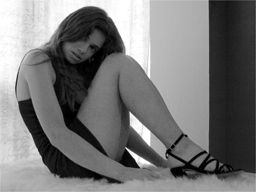
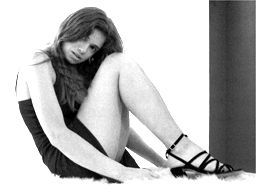
The top layer should be desaturated
to Black and White. (Image> Adjust> Desaturate
or Alt+shift+H). Adjust the levels here until you
have a crisp black and white image.
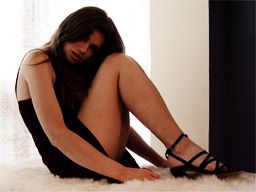
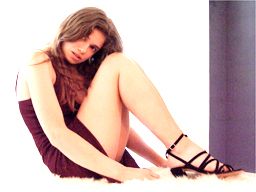
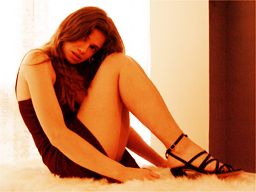
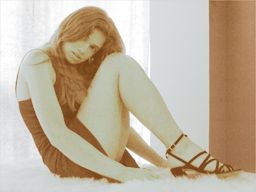
The second duplicate layer is to become
our sepia layer. Open up the Hue/Saturation dialogue
again click to colourise the image. Set up the values
somewhere along the lines below:
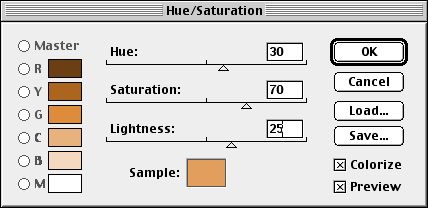
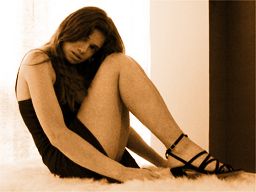
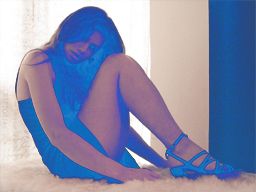
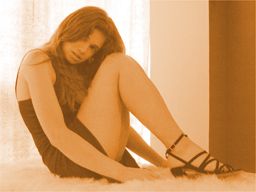
You should aim to acheive a sepia
look like the image below:
Move this layer down underneath your
original image. You should now have 4 layers. A
white layer, a sepia layer, your original colour
layer and a black and white layer. It should be
arranged as below:
 |
 |
Layer 02 copy 2 |
|
 |
Layer 01 |
|
 |
Layer 01 copy 1 |
|
 |
Background |
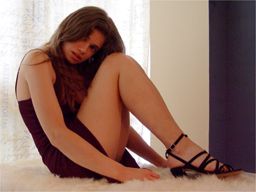
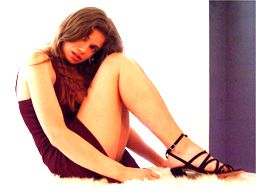
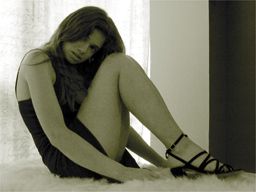
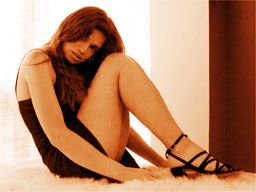
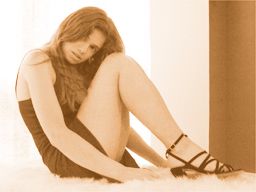
Now, by altering the layer modes and
hiding/showing the 3 layers, you can produce a huge
range of stylised images. 15 examples are shown
below: